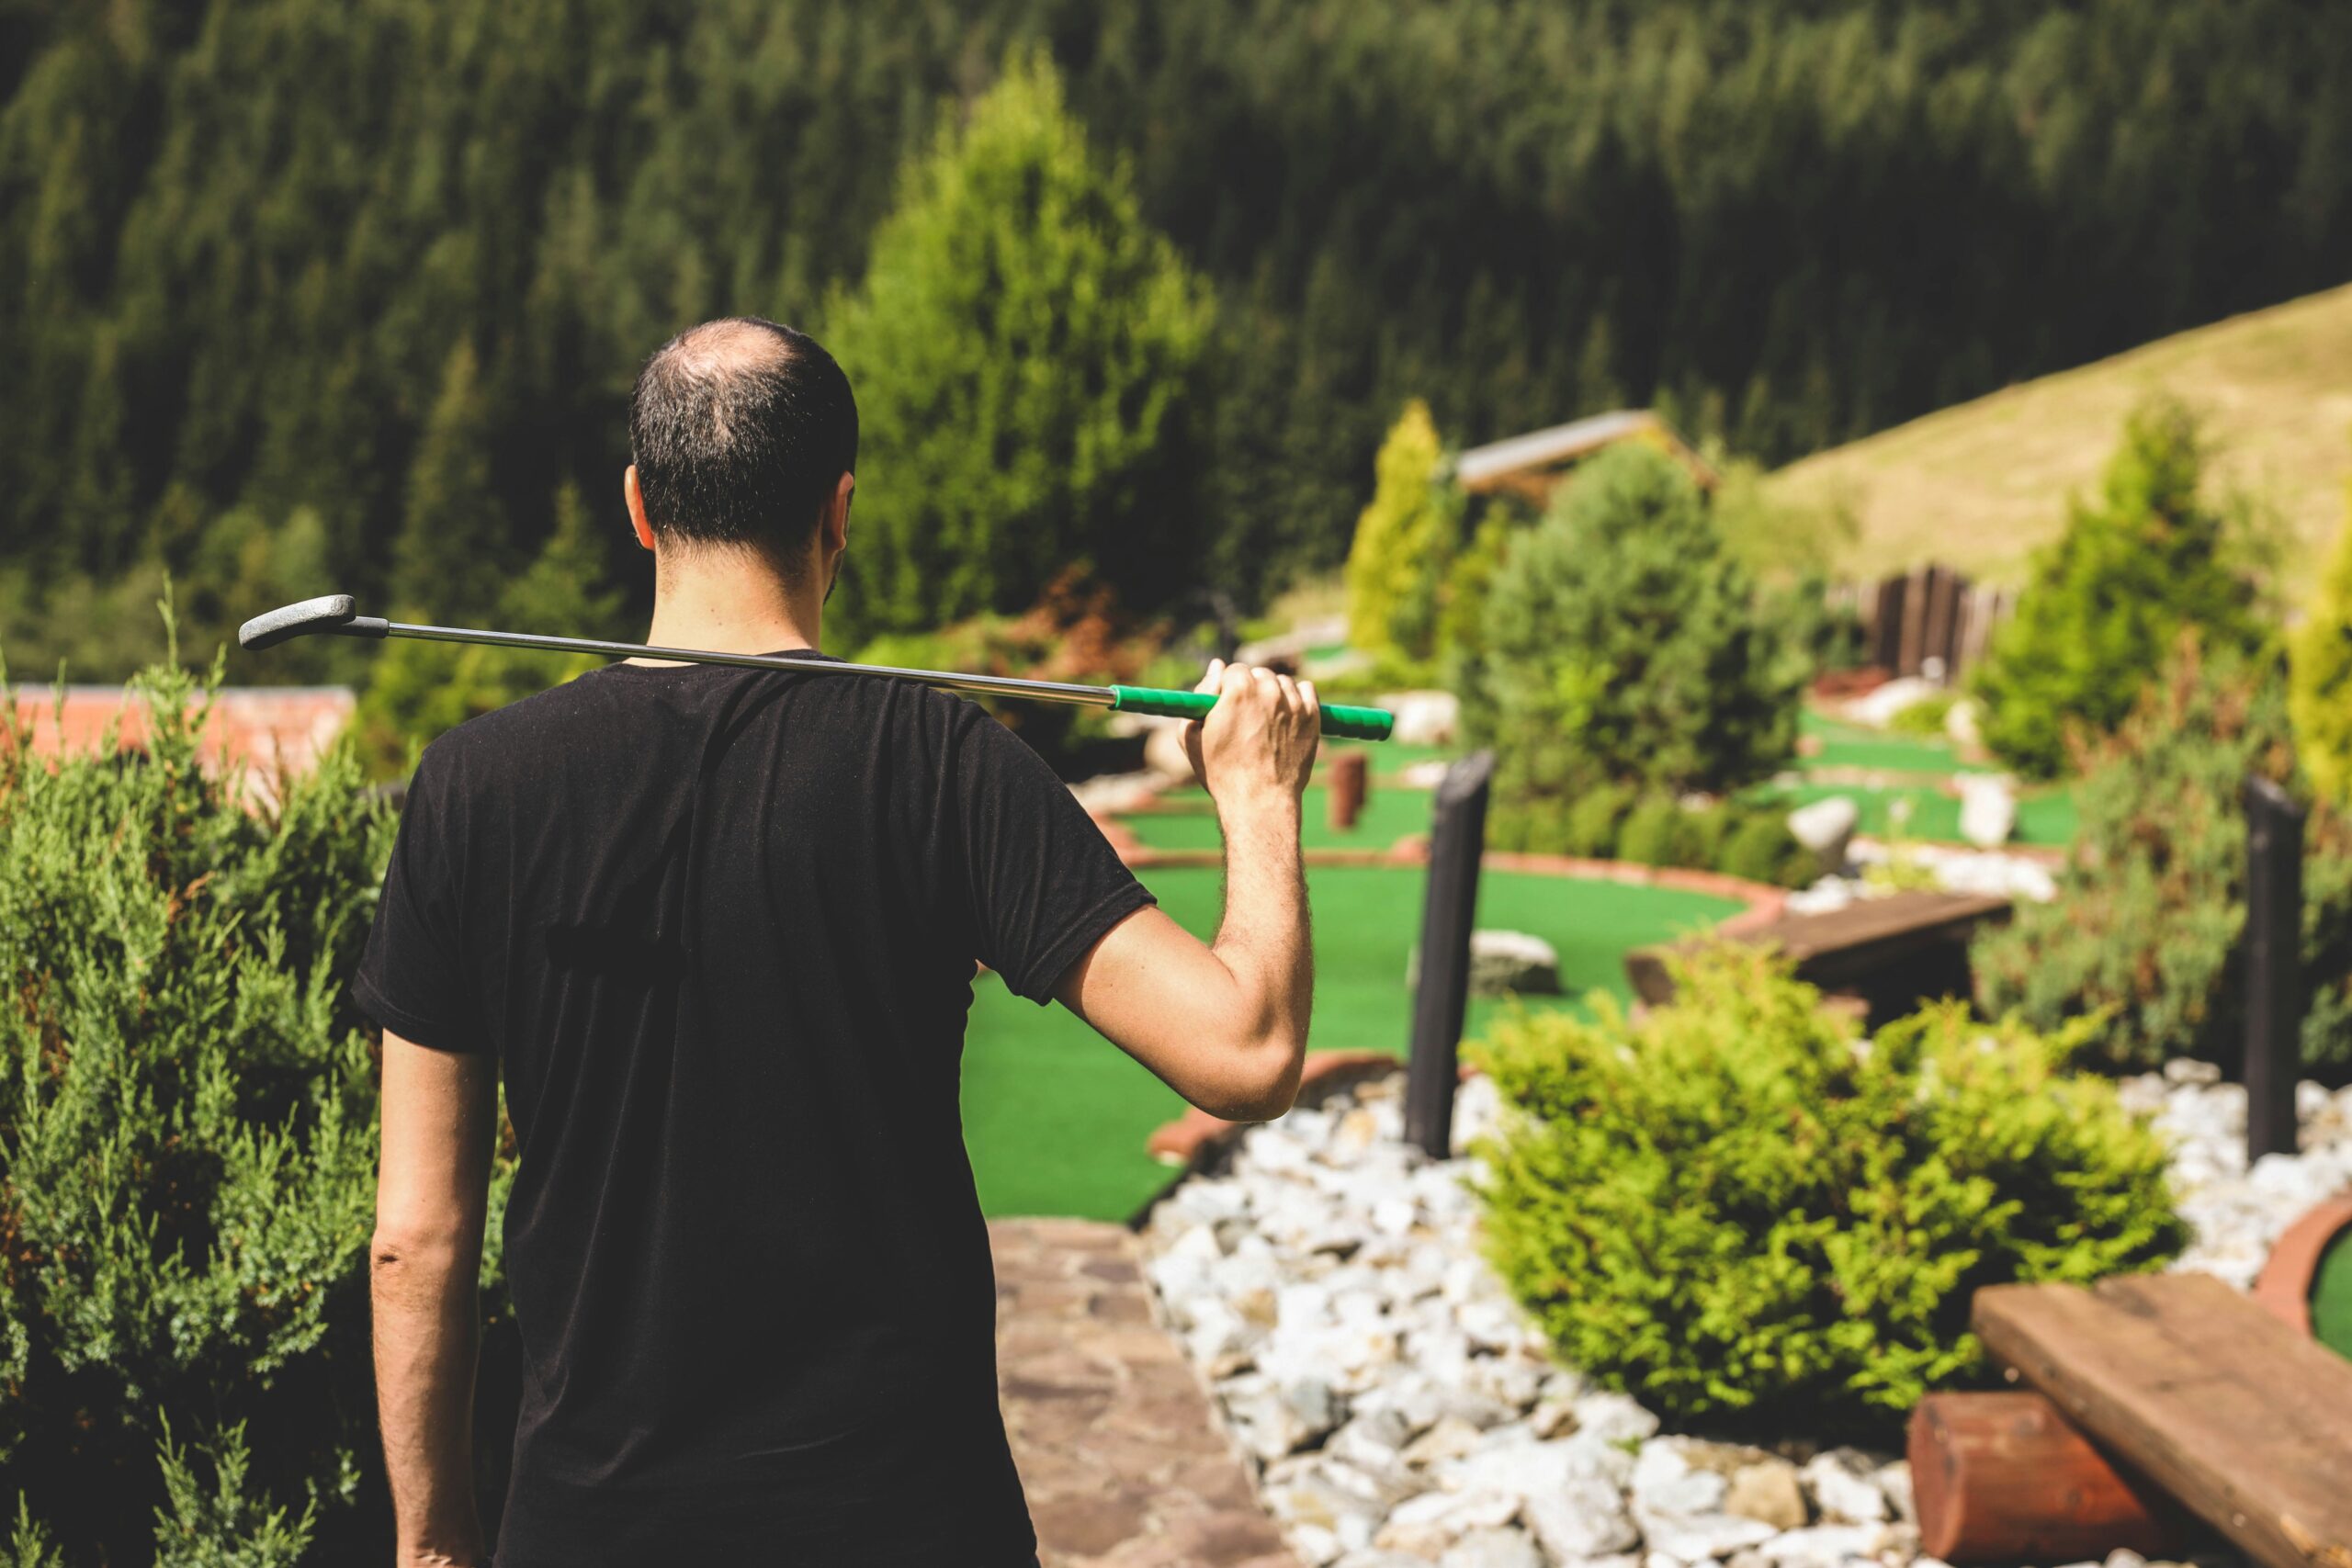
Transforming your backyard into a personal golf haven is a rewarding project that boosts both your game and your home’s appeal and value. Whether you’re a seasoned golfer or a weekend enthusiast looking for fun ways to bond as a family, creating a customized practice area has a few advantages. First, you have the whole course to yourself (and maybe the kids, depending on the day and time). Second, you don’t have to get in your car and burn gas to get there! The chance to work on your skills, teach your kids how to play golf, or just have some fun is literally in your backyard.
As a dad and golfer myself, I’ve put together a quick guide to walk you through the steps to design and build the ultimate backyard golf setup, a space that’s both functional and enjoyable.
Planning Your Backyard Golf Setup
Embarking on this project requires some thoughtful planning to align your vision with the realities of your outdoor space. A smart plan will help you make informed decisions and avoid costly mistakes.
Assessing Available Space
Begin by evaluating the size and characteristics of your backyard. The space you have will dictate the features you can incorporate. For example:
- Putting Greens: A cozy corner setup can range from 150 to 300 square feet, suitable for practicing basic putts.
- Chipping Areas: Medium greens between 300 and 500 square feet allow for varied shots and moderate undulations.
- Full Swing Areas: Larger spaces exceeding 500 square feet can accommodate full driving practice. If you just want a netted spot to practice your swing, you need much less space—9 x 9 feet is a good average.
Decide On Your Backyard Golf Setup Features
Define what you aim to achieve with your backyard golf setup. What exactly do you want to be able to do there? Your space might be the deciding factor here.
- Goals: Determine if your focus is on putting, chipping, driving, or a combination.
- Feature Selection: Based on your goals, decide whether to include elements like a putting green, chipping area, driving net, or sand bunker.
If you have a tiny yard, you’ll most likely be restricted to a putting green or perhaps a netted driving area. If you’ve got a ton of space, you can build a full-on driving range with a chipping area.
Your space dictates what you can build, but creative thinking will help you make the most of what’s available. For example, use your corners as putting greens to maximize space in smaller yards. Place golf nets in between trees where you might not otherwise be able to play.
Creating Your Budget for Your Project
Don’t just wing it. Once you know what you want, setting a budget up front helps you not to waste money. Your budget will change depending on how extravagant you want your backyard golf setup to be.
- Basic Setups: DIY putting greens can cost between $500 and $1,500.
- Mid-Range Setups: Incorporating artificial turf and simple framing may range from $1,500 to $3,000.
- Professional-Grade Installations: High-end setups can exceed $5,000.
Material costs typically account for up to 70% of your total budget. Bulk purchasing materials might save 15 to 25% overall, but you need to have a good idea upfront of what materials you need.
Renting tools can add approximately $100 to $250 (if you’ve got your own, you can save a good bit). All you need aside from this is time to build!
Materials and Tools
Choosing the right materials and having the necessary tools will help you with a smooth construction process.
Choosing Between Synthetic and Natural Grass
Artificial turf designed for golf provides ball roll speeds comparable to natural greens. They’re usable year-round and need very little maintenance, although installation requires preparation of a compacted base and then laying the turf. Polypropylene turf can last up to 10 years; nylon lasts longer but is more expensive.
Natural grass gives you an authentic feel but requires quite a lot of upkeep, including regular mowing, watering, and pest control. Maintaining a natural green can be time-consuming and costly, so unless you have the time and money, a synthetic option might be best.
Tool Requirements
You’ll need basic tools like shovels, rakes, levels, tape measures, utility knives, and tampers. Power equipment like tillers and plate compactors can help speed up ground preparation. Putting green cups and flags will finish off your design.
If you don’t have a stash of tools of your own, renting tools for weekend projects is a cost-effective option.
Building a Backyard Putting Green
You could just buy an indoor putting green, but creating one outdoors allows you to have a more realistic practice experience. Creating a DIY putting green in your backyard involves several key steps:
Site Selection and Preparation
Choose a level area with good drainage and adequate sunlight. If your yard isn’t level, you’ll need to level it out before moving on to excavation. Once the area is level, excavate it to a depth of 4 to 5 inches in the shape of your green.
Installing the Base and Turf
Fill the excavated area with 2 to 3 inches of crushed stone, an inch of gravel, and fill the rest with compacted sand. This compacted foundation helps prevent weed growth. Lay the synthetic turf over the prepared base, making sure it’s smooth and free of wrinkles. Secure the edges with landscape staples or nails.
Adding Cups and Final Touches
Decide on hole locations, cut corresponding holes in the turf and base, and insert the cups securely. Adding fringe turf around the green can give it a professional appearance. Regular maintenance, such as brushing and cleaning the turf, will keep it looking good and working optimally.
Creating a Driving Net or Range
Installing a netted driving range? You can do it almost anywhere you have a bit of space because the golf ball’s not going to touch the ground. Here’s what to keep in mind:
- Safety Nets: Install golf nets or screens at least 10 feet high to contain balls and protect surrounding areas. Nobody wants to break the neighbors’ windows with a stray golf ball!
- Hitting Mats: Use durable mats on level surfaces to simulate tee box conditions and protect your lawn. You can buy good-quality mats from your local sports store.
If you’ve got the space to create a full-length driving range, don’t forget to install distance markers to help you choose the right clubs and assess your progress over time.
Building Chipping Areas
If you need more short-game practice or want to add some challenge to your DIY golf setup, a chipping area is a must. Here’s how to build one:
- Varied Lies: Incorporate different turf heights and densities to practice a range of shots. You might need to do your own landscaping and “build” the actual curves of the course.
- Sand Bunkers: Adding a sand bunker introduces realistic challenges and is a great way to get better at chipping. Take extra care with drainage so it doesn’t become waterlogged when it rains.
- Defined Borders: Use edging to separate chipping areas from the rest of the yard, creating clear practice zones.
Refinements and Accessories
Consider adding some of these to complete your backyard golf setup:
Lighting Options
Adding outdoor lighting means you (and your family) can play later into the evening, or if you’re an early bird, you can grab a bit of practice before leaving in the morning. Make sure the lighting is even across the course.
Technology
It’s a great idea to download a swing analyzer or other golf course apps and use them when you’re playing your backyard course. Even if you’re just playing with your kids, it’s a good way to introduce them to some of the tech involved in the game, and it can help you upskill more quickly.
Seating and Shade
If you’re planning on making your backyard golf course a communal event with family and friends, add a couple of benches so whoever’s not playing at the moment can sit and relax between shots.
Depending on your yard, you might also want to create some shady spots so nobody gets sunburnt while waiting their turn!
Safety Considerations
- Install nets or fences around the practice area to prevent balls from leaving the yard.
- Position the setup away from windows, vehicles, and neighboring properties to minimize damage risk.
- Always supervise children during use to ensure safe practices.
Conclusion
Building your own backyard golf setup is a practical investment for both your game and your home’s value. By carefully planning and executing this project, you create a personalized practice area that offers convenience and long-term cost savings.
Whether focusing on putting, chipping, or driving, a well-designed space allows you to refine your skills at your own pace, keep on top of your game, or have an always-ready family fun area. With thoughtful budgeting and material selection, this DIY endeavor becomes an achievable goal that’s well worth it for any golf fan!
About the Author
Jordan Fuller is a retired golfer and businessman. When he’s not on the course working on his own game or mentoring young golfers, he writes in-depth articles for his website, Golf Influence.